Before marking your piece
The stamps are designed for soft, unfired clay. Choose your characters and first make an impression on a scrap of the same clay. Clay consistency, pressure and depth influence the result.
Identification and alignment
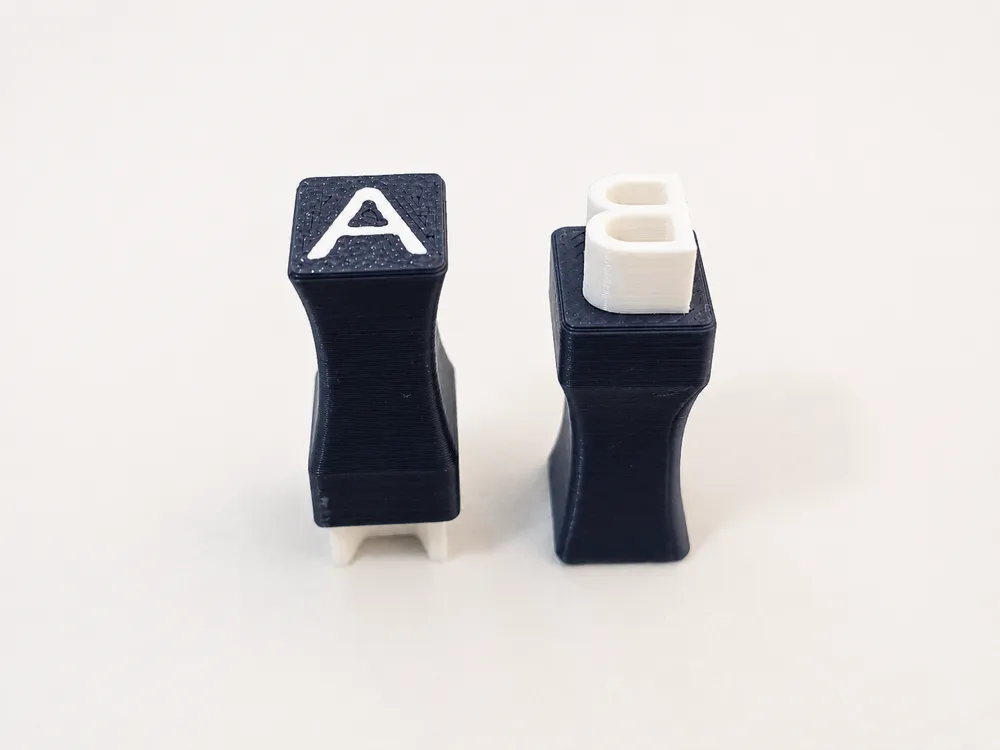
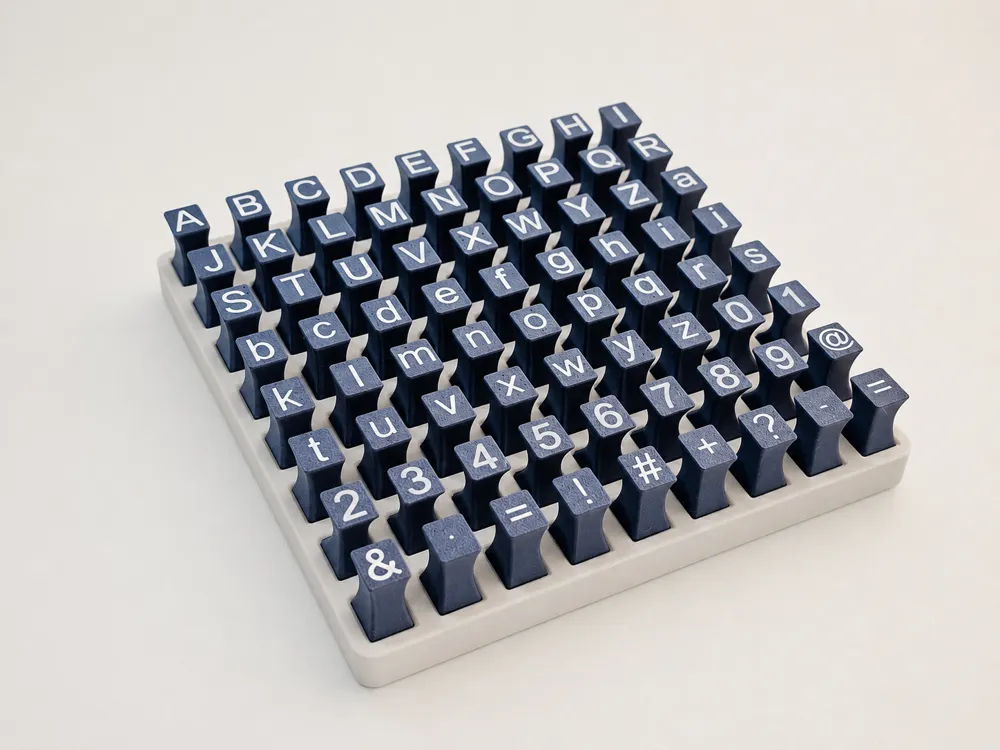
The top character reads normally. Use it to identify the letter and check the word’s orientation before stamping. The raised face on the opposite end is mirrored to leave a readable impression in clay.
Hold the stamping face perpendicular to the surface. The character relief makes the impression; the whole stamp body does not need to touch the clay.
Stamp a word, one character at a time
- Set out the letters in word order and check each one by its top character.
- Make the first impression on a scrap of the same clay.
- Position the next letter relative to the previous one and test the gap between impressions. Spacing is set by hand.
- Press evenly without rocking, then lift straight away.
- Check the word on the scrap before repeating the sequence on your piece.
Read your test impression
Look for a readable impression with all character details visible. If part of the mark is missing, check face contact and clay consistency before trying again.
If the outline is doubled, check whether the stamp rocked during application. Clear any clay from the details before making the next mark. Adjust one thing at a time on the scrap; pressure and depth depend on your clay.
Preparing the print
Start with PLA and 0.16 mm layers or finer. Print one test stamp before the full kit. A contrasting top color helps identification but is optional.
Cleaning and organization
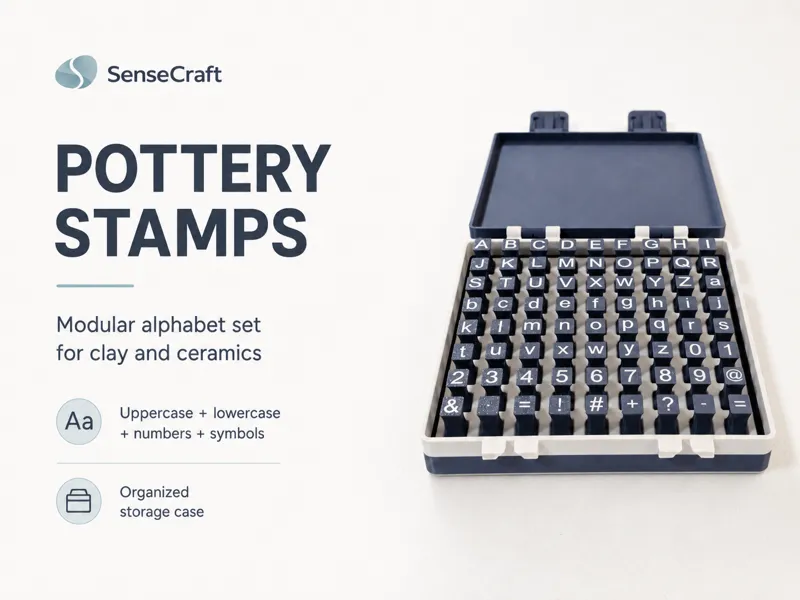
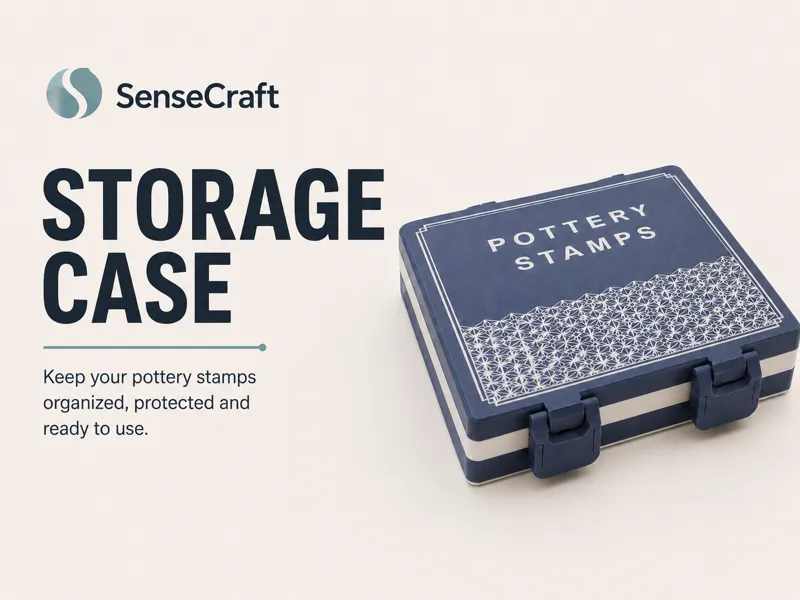
Use water, mild soap and a soft brush. Avoid excessive heat and dishwashers for PLA parts. Clean and dry the stamps before storing them. Matching trays and cases hold 64, 72 or 80 stamps.
Care and use
The current kit includes individual stamps and organizer trays. Position and spacing are adjusted by hand; there is no automatic word-alignment jig.